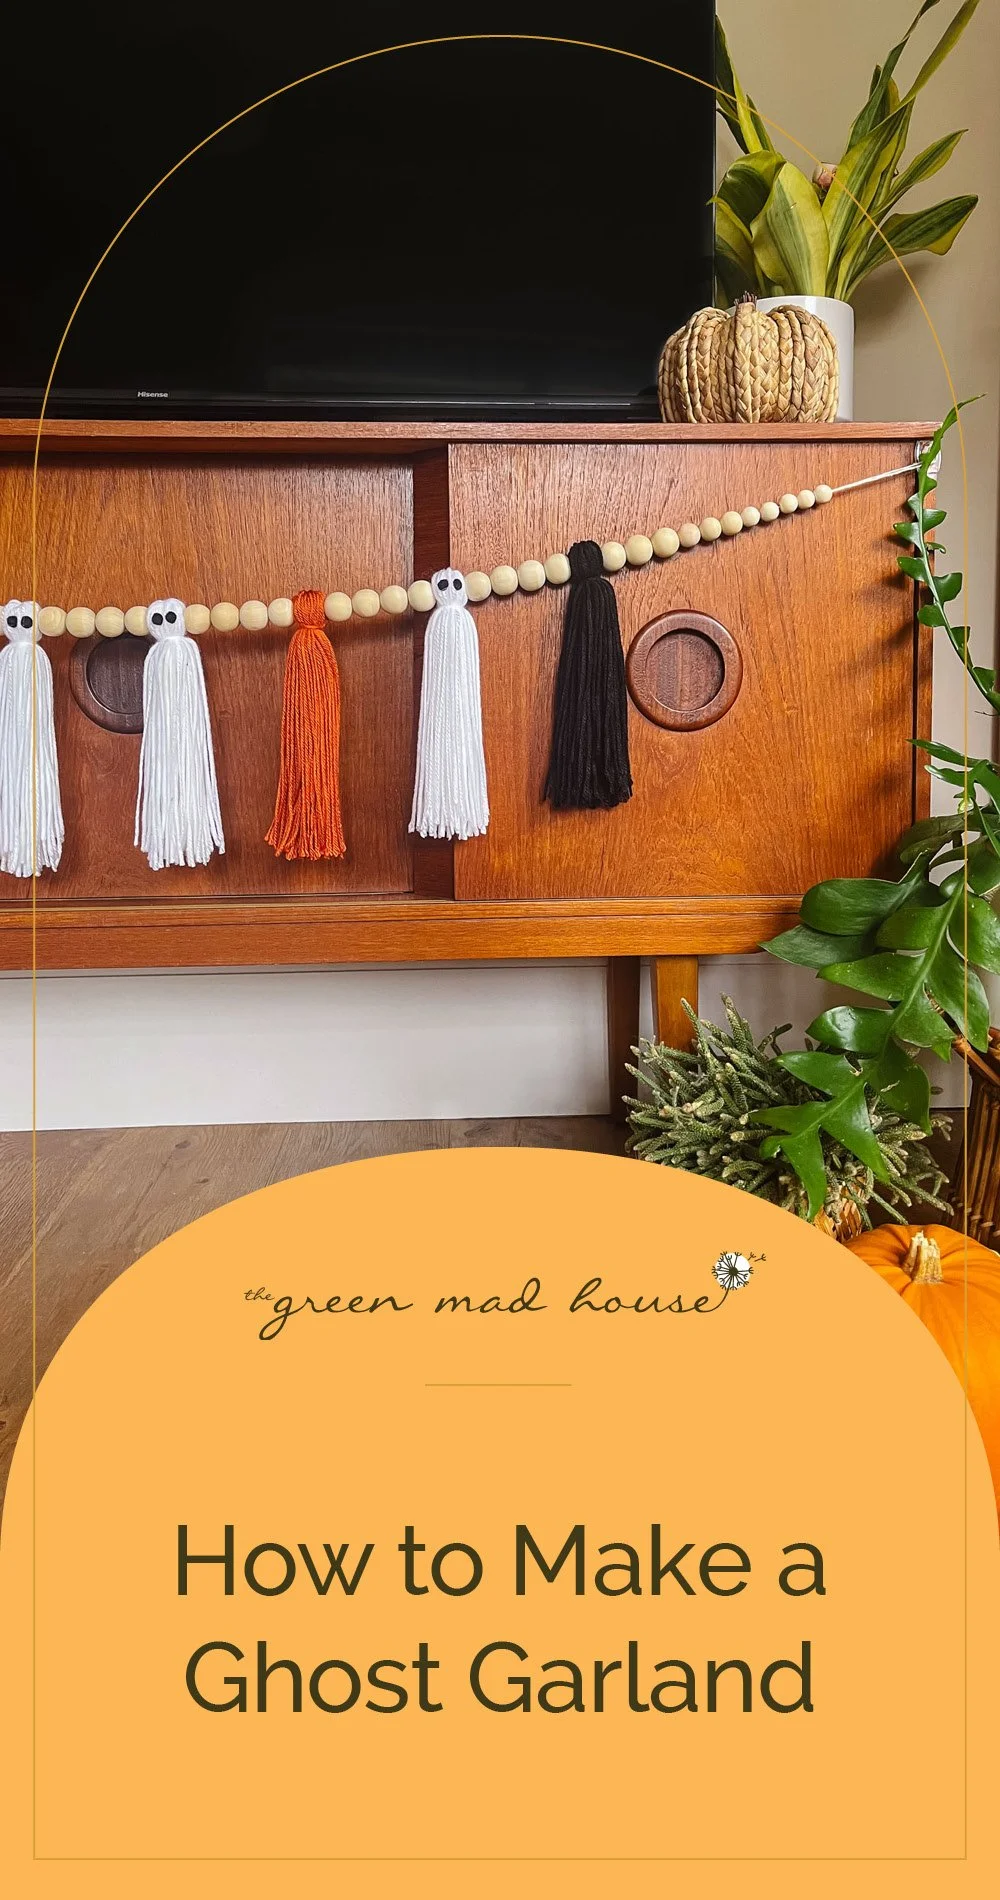
How to Make a Tassel Ghost Garland


As an Amazon Associate I earn from qualifying purchases.

Boo!
It isn't the holiday season if I don't make some form of a garland. In past years I have done a candy corn pom garland and a bat and spider pomn garland so this year we are mixing it up and going with a tassel garland with some ghosts. My favorite DIY's are ones that involve supplies I already own which in girl math means it is free. This Halloween DIY only uses yarn, felt, wood beads, string and glue; all common craft materials you probably have laying around. This DIY is also an easy one for kids to assist you with and only takes about an hour in total. Pop on Halloweentown and by the end of the movie you will have a completed tassel garland.
I have a collection of Halloween DIYs if you are feeling creative and want to keep going!
Tips & Tricks
- Since I was using supplies I already had laying around I went with wood beads as my spacers. I had a few sizes but went with the 1" bead (25mm) as the main bead and made the tassel tops (ghost heads) the same size for a visual consistency.
- I have linked in the supplies section the three sizes I used but you could purchase a variety pack as it is cheaper and includes all the sizes.
- I used smallest to largest on the outsides and just the large bead inbetween the tassels; however, you could go with a variety of arrangements. I suggest keeping the large bead next to the tassel tops for that visual consistency but you could alternate small beads inbetween.
- For your ghost faces you could add a third circle as a screaming mouth below the eyes.
- For ease of stringing the beads and tassels I used a wide-eye needle. I used 1mm macrame which is just thin enough to slide onto a needle however any thicker and it would not work.
- You could use any string, twine, or macrame here but it needs to be strong enough to not break as the wood beads do add quite a bit of weight. As a result you can not use yarn as the main connector.
- My favorite tip is to use a hair straightener on the yarn to get it really straight and crisp. Do this before you trim to get an even look.


Wrap Yarn Tassel
Take your yarn and a book of your choice (the book should be the width of your desired tassel length). Mine is 8 inches (20 cm). Wrap until you get to a good thickness. Cut one end of the yarn.

Knot Yarn
Lay your cut yarn out. Find the center and tie a tight knot.

Create Tassel
Fold your yarn in half along your knotted center. Take another piece of yarn and knot it around the top, leaving around an inch above it. This creates the “head” of the ghost.

Repeat
Repeat with all your colors until you have your desired quantity. I made 4 ghosts (white), 2 black and 2 orange tassels.
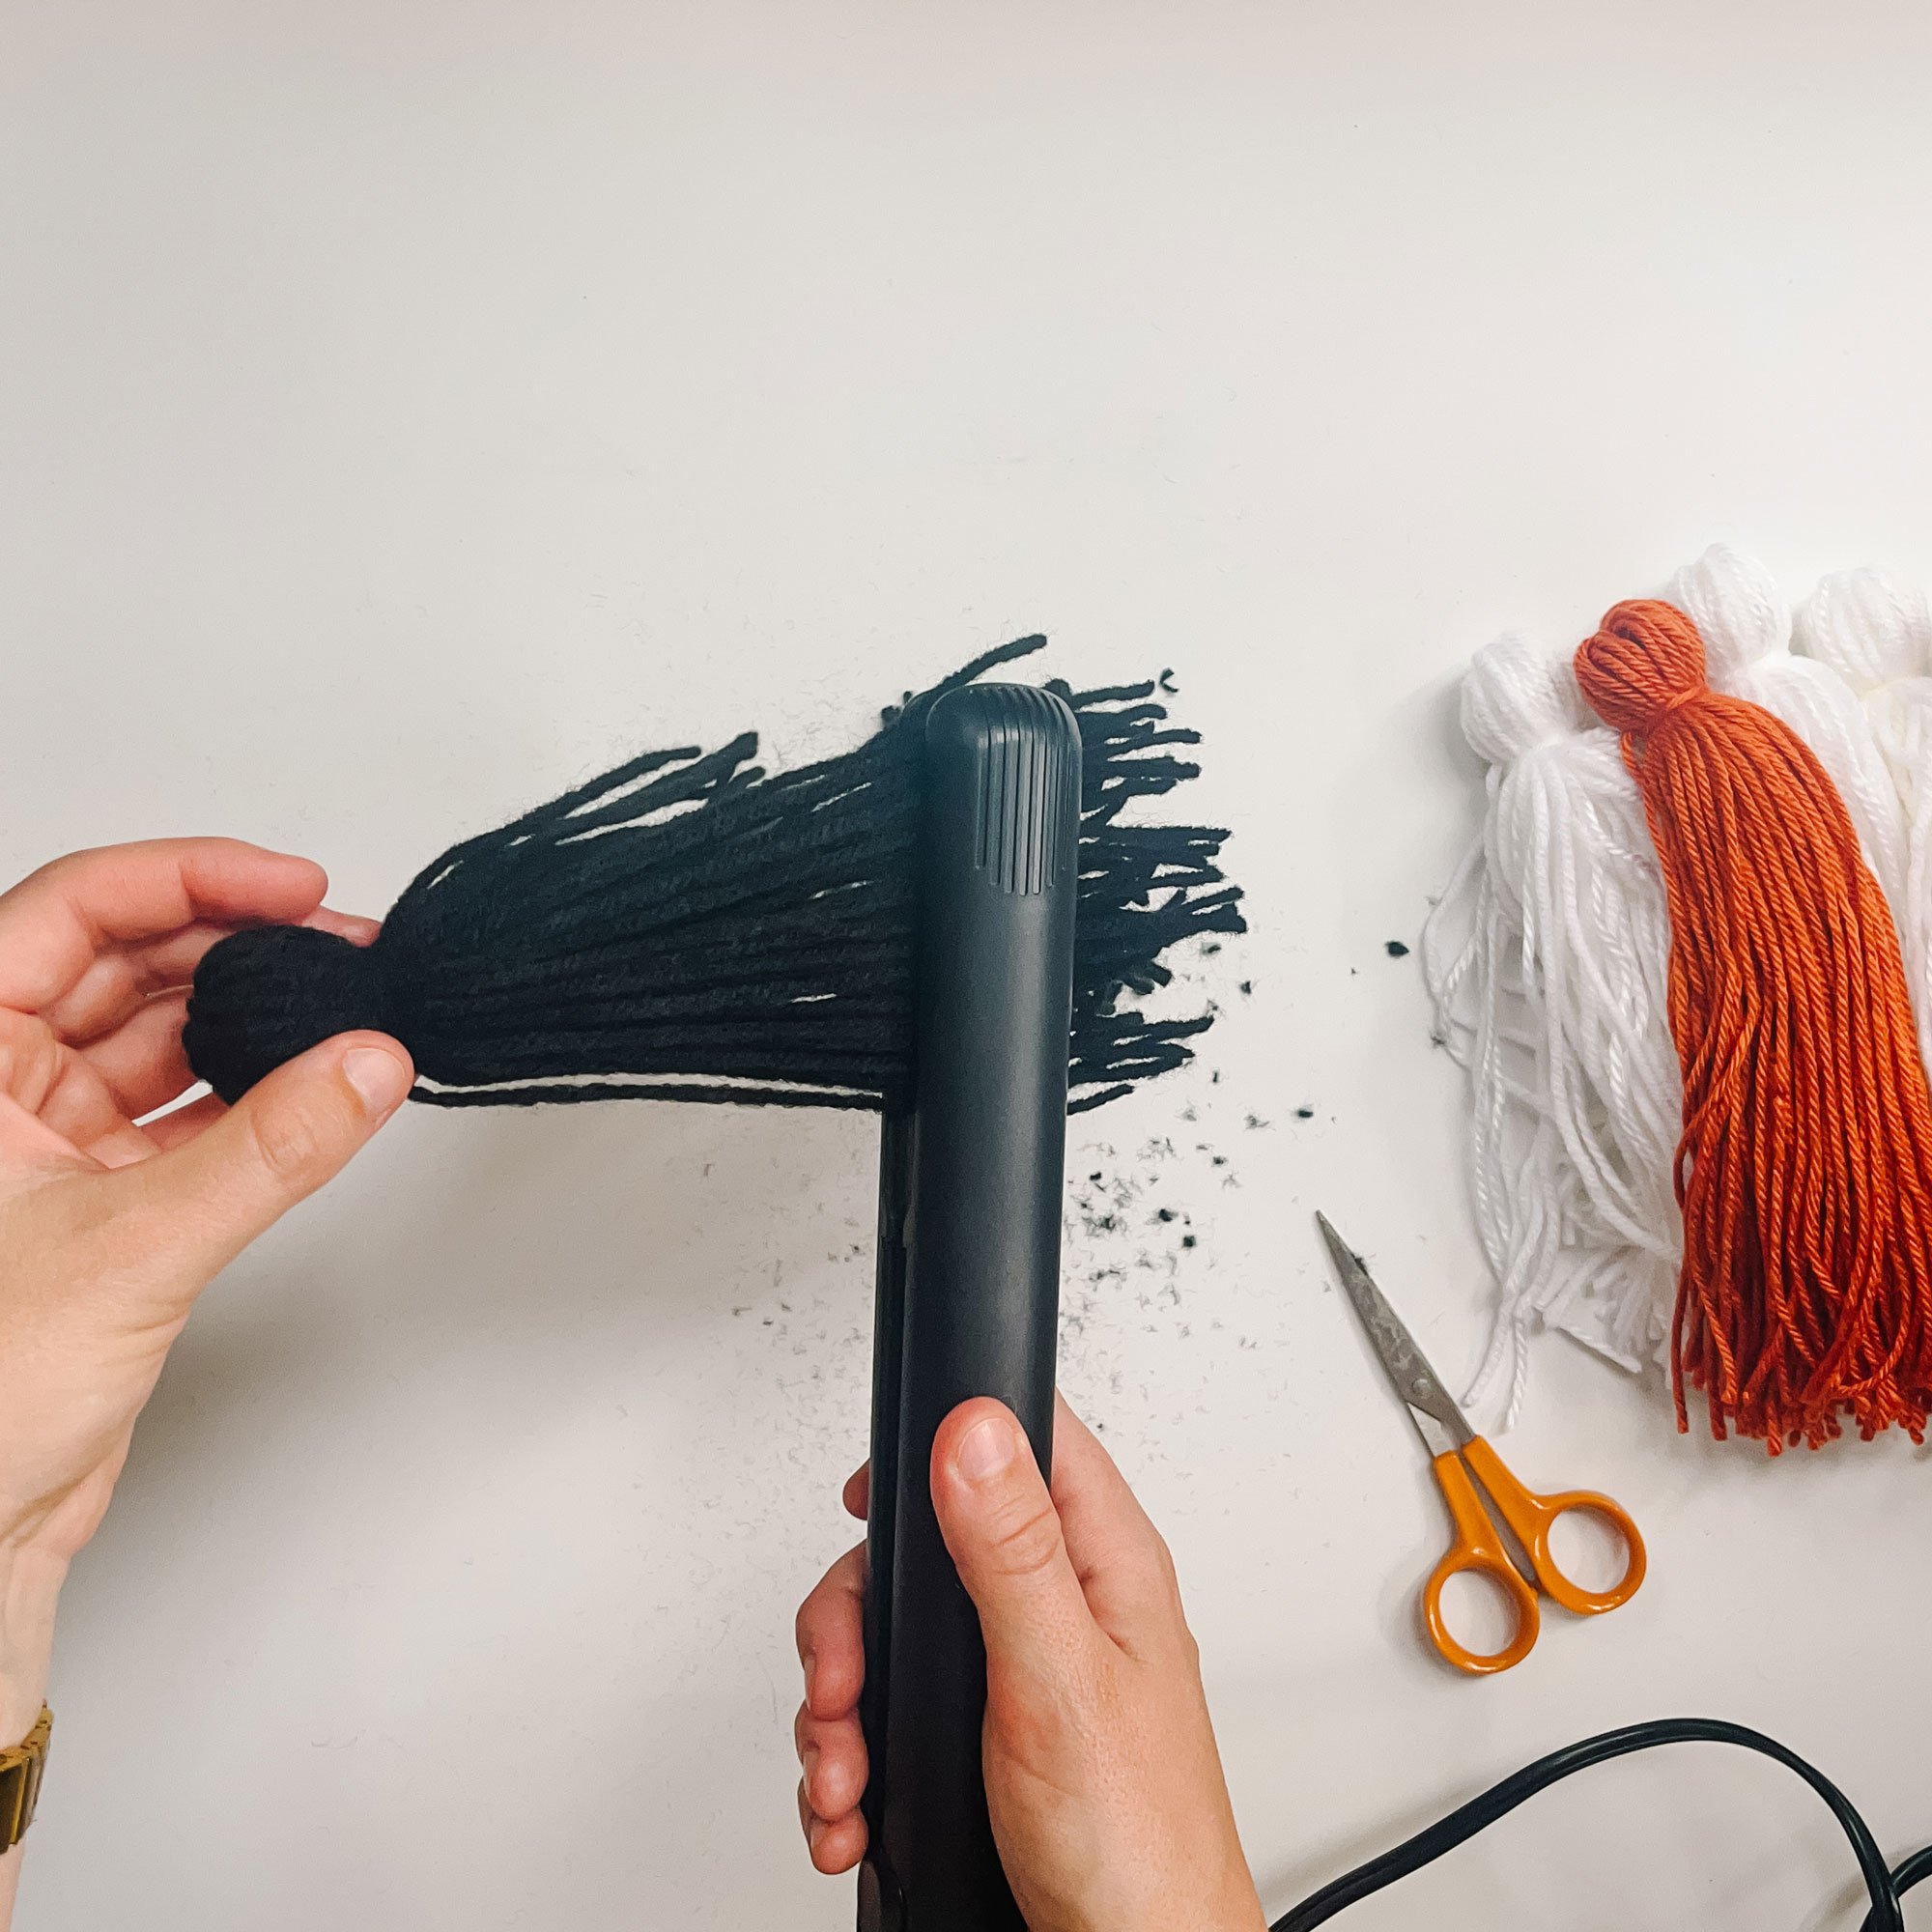
Straighten Yarn
Fun tip is to use a hair straightener on the yarn to get a very clean, sleek look.

Trim Tassels
Trim the ends of your tassels so they are even.
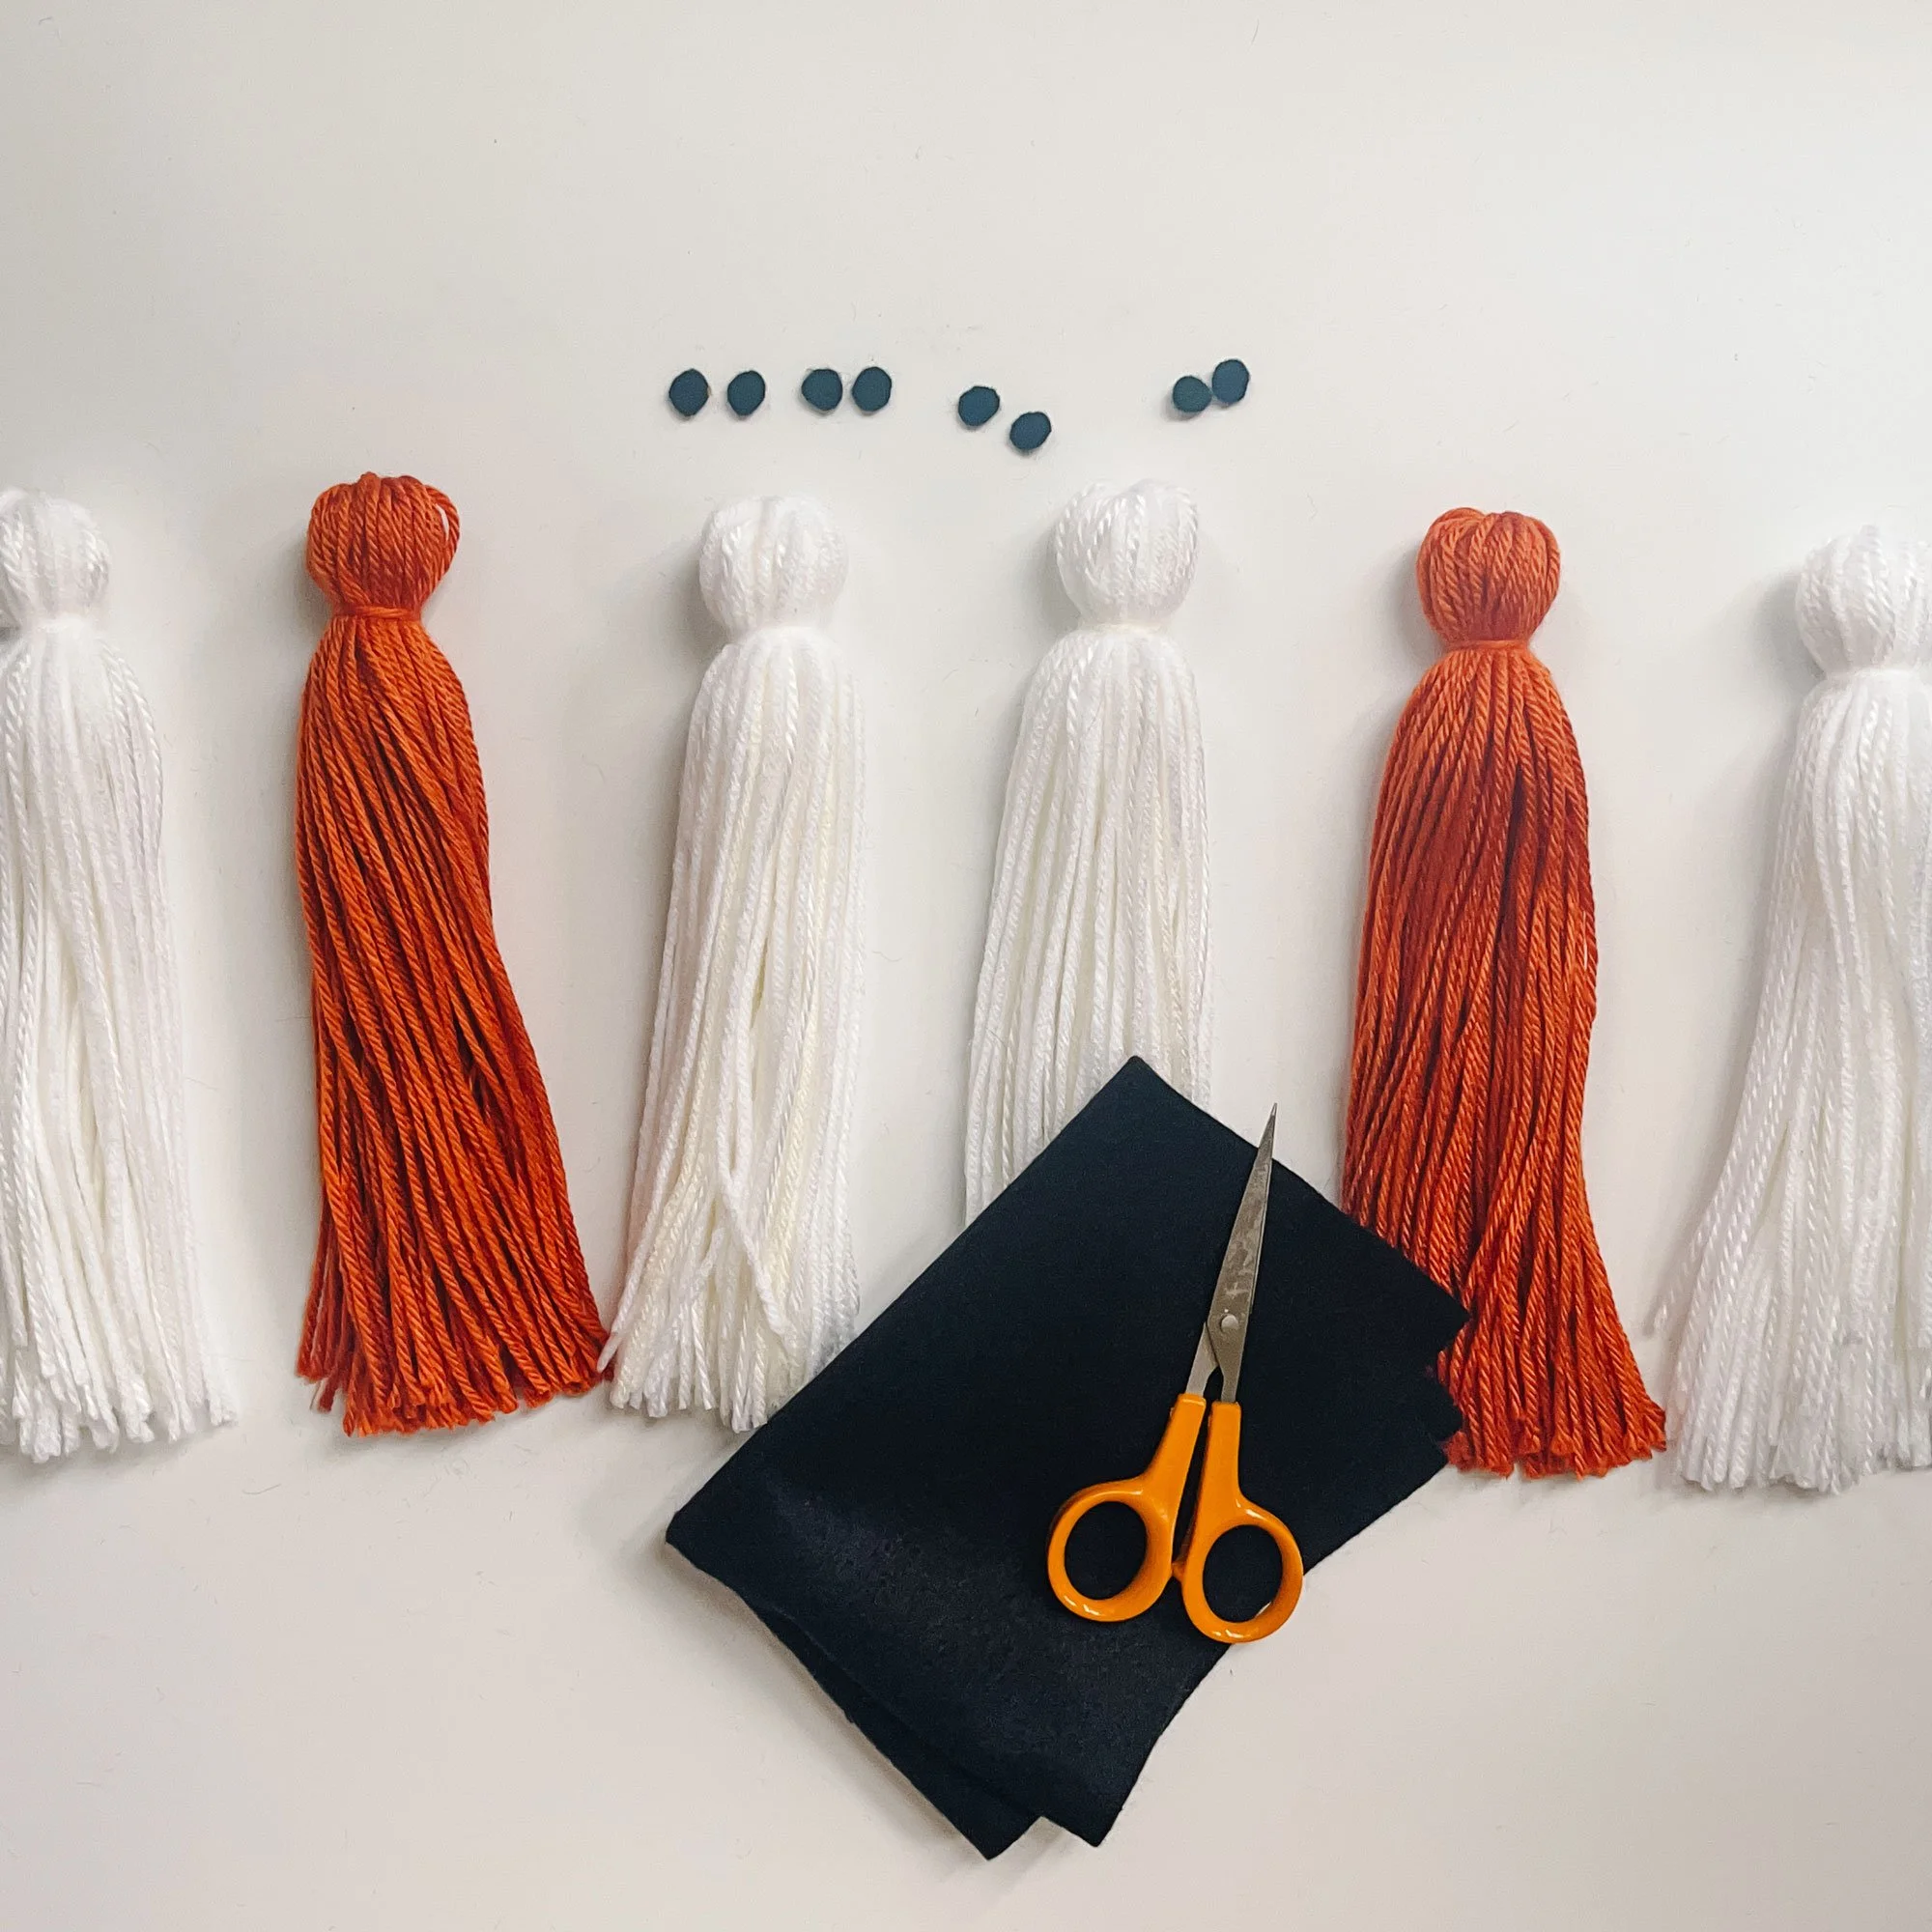
Cut Ghost Eyes
Use your felt to cut out little circles for your ghost’s eyes. You could also do a third circle for a screaming mouth if you want.
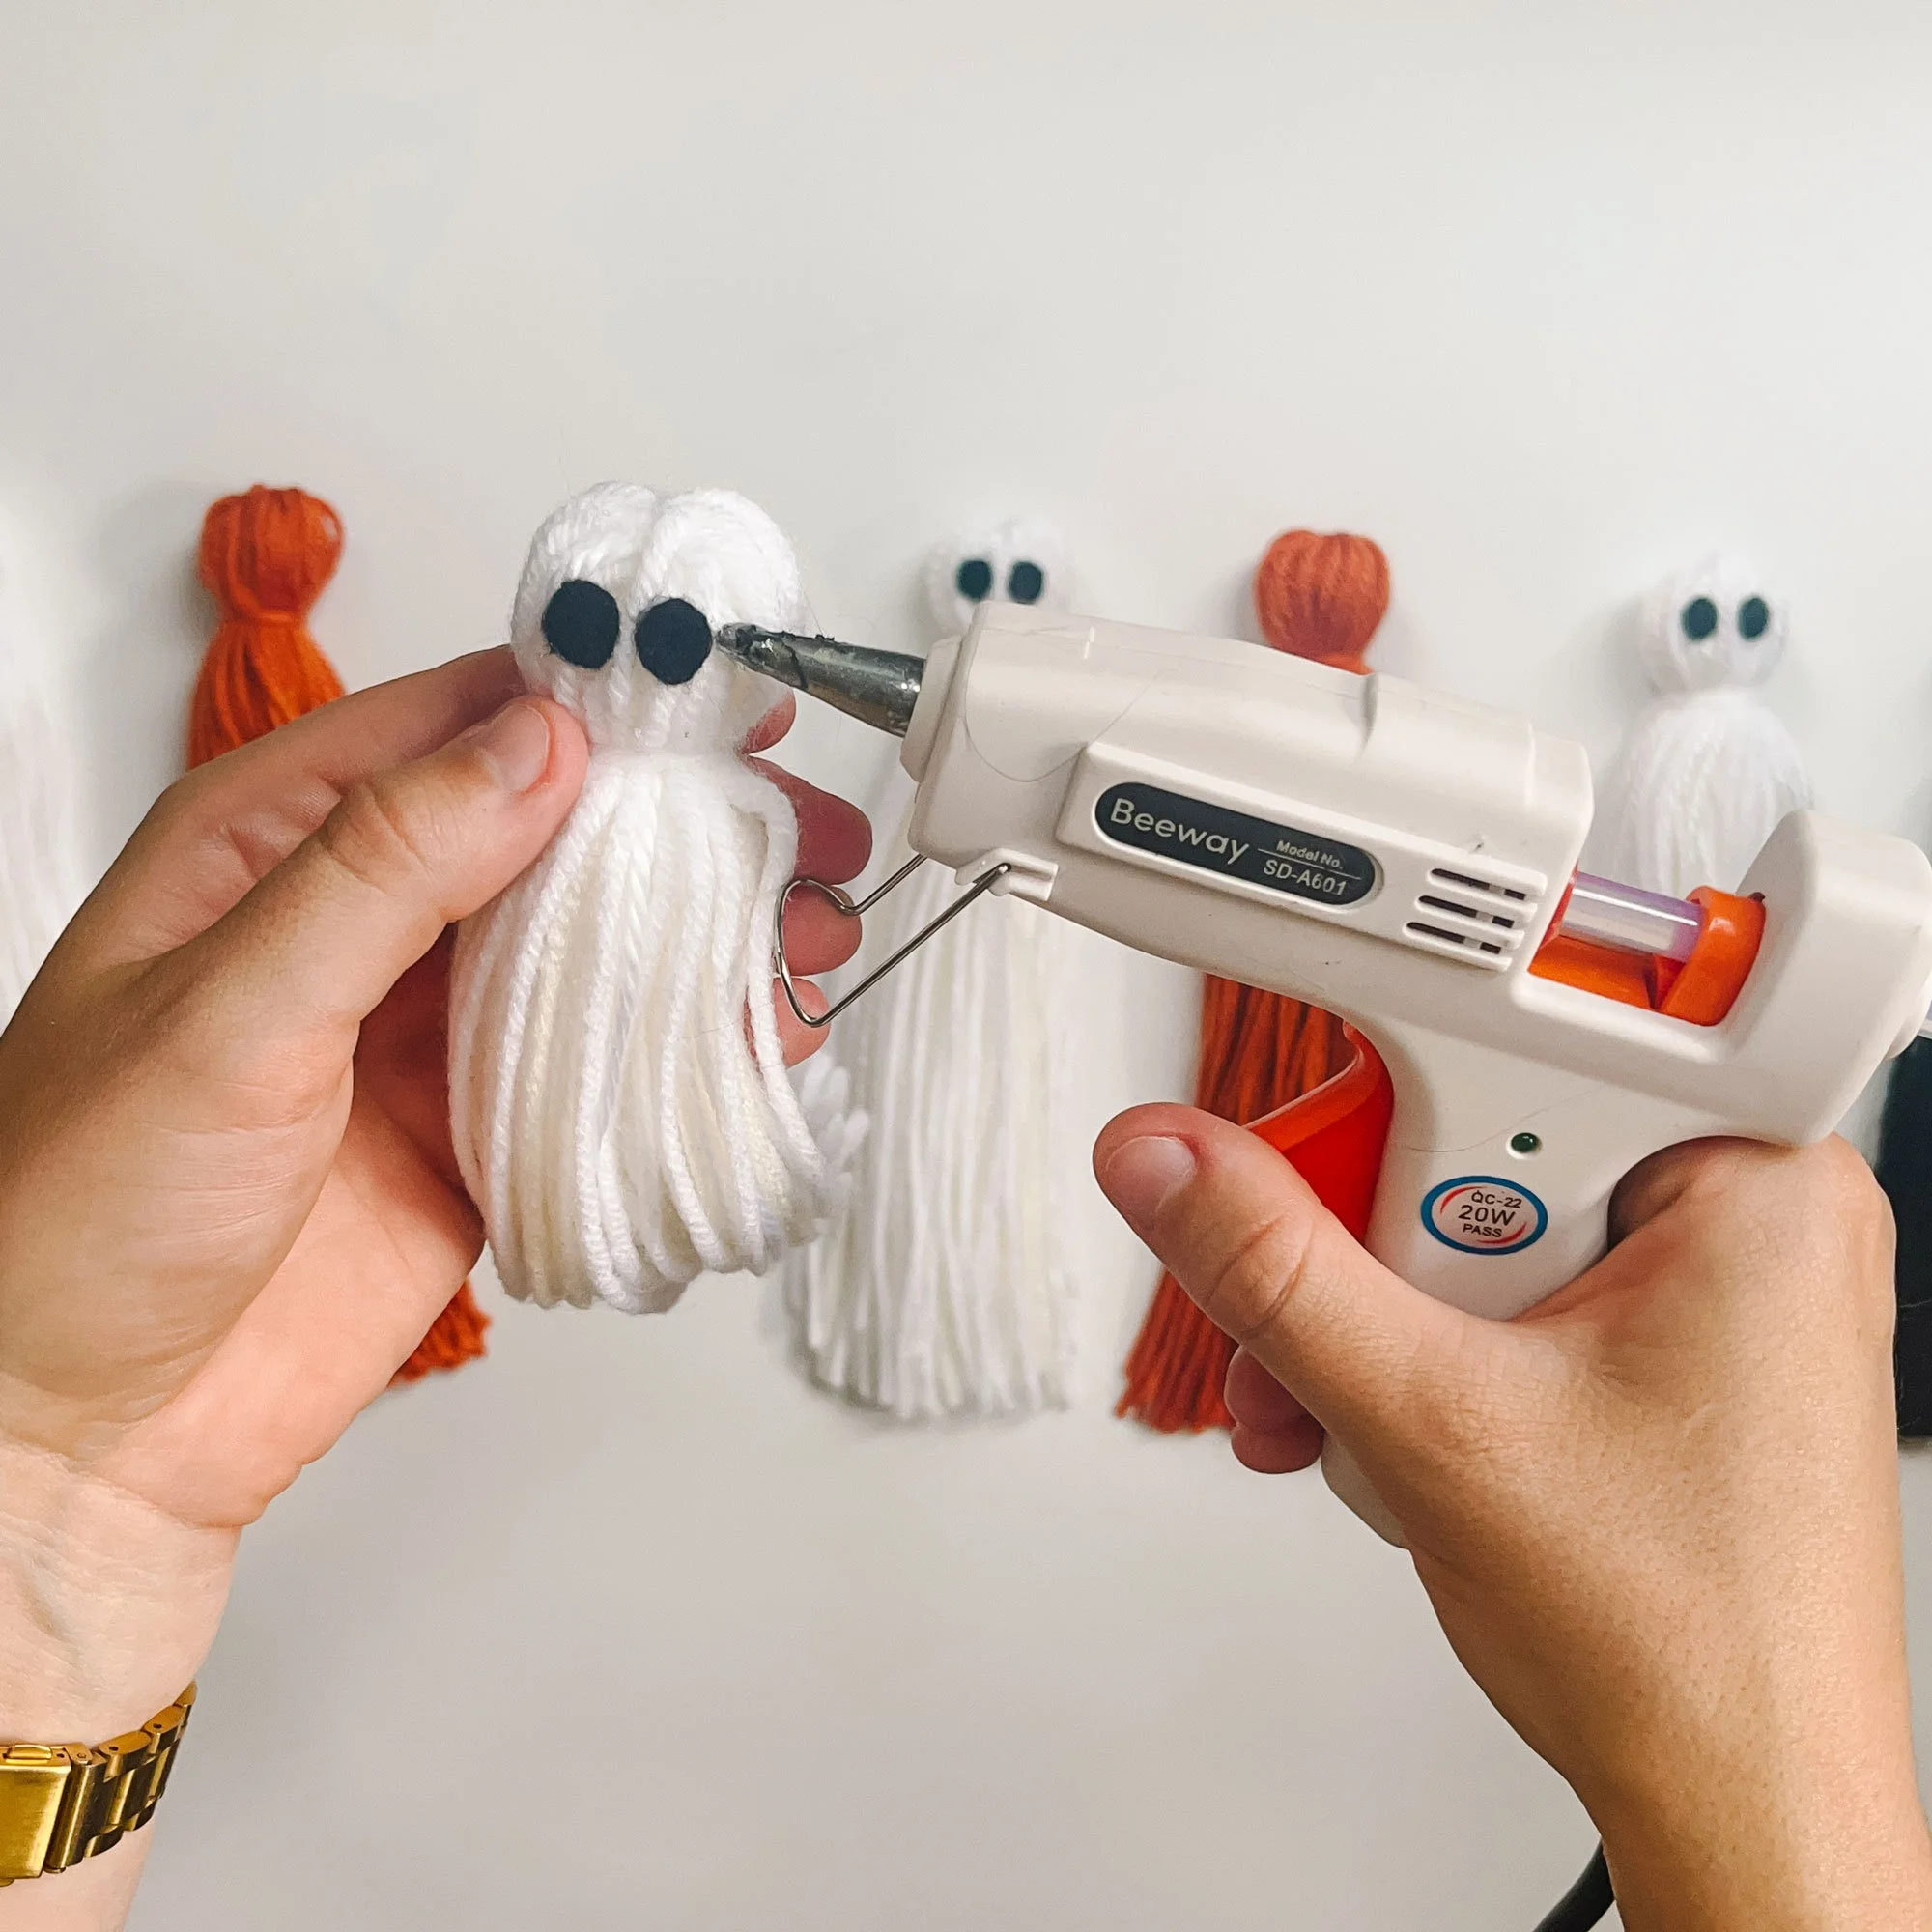
Glue Ghost Eyes
Use hot glue to place your ghost’s eyes.

String Wood Beads
I used a wide-eye needle to make threading the beads easier. I have three sizes of beads. I started with three 16 mm, three 20mm, than three 25mm beads before alternating between tassels and four 25mm beads.

Thread Tassels
I threaded my macrame through the “head” of the tassel to give it a consistent look with the beads. My tassels go Black, Ghost, Orange, Ghost, Ghost, Orange, Ghost and Black.

Knot Ends
Finish off your garland by looping your needle back through your small beads and creating a knot. You can use a drop of hot glue to hold the end bead in place and therefore hiding the knot.

Hang it!
Use command strips to hang it on the wall, drape it on your mantel, string it above a window, put it where ever you want it!
Add in some cobwebs and fake spiders as a nice back drop for your ghosts to pop. Garlands are a great way to add Halloween decor in a variety of places but in a way that isn't tacky. Let me know how yours turns out or by tagging me on instagram @thegreenmadhouse.

