How to Make a Heart Pom Door Hanger
As an Amazon Associate I earn from qualifying purchases.

Once again I am continuing my journey to make a Pom DIY for every holiday and the next holiday is Valentine’s Day. Valentine’s decor is not only cute but can easily transition through the rest of the year with its pink color palette and heart shapes. (These shouldn’t be limited to just February right?) We have a few Valentine’s DIY’s planned for you this love season ranging from a paper heart garland to a pom heart garland, all are kid friendly, and we even have a special plant spotlight on the ‘Valentine’ Hoya.
This door hanger is definitely something you could leave up year round with its heart shaped poms, wood bead accents and color blocked loop. I had all the supplies for this DIY already and was happy to get rid of some of my excess yarn. The macrame and wood beads were leftovers from some of my Etsy shop items so I came out spending $0. I decided to pop on Wonder Woman and by the end of the movie I had this hanger ready to go. The smallest pom is 2.75” and the larger 3.25”. My loop is about 4” and the total length of the hanger is 13”. These are just rough suggestions as this DIY could be customized in so many ways: more hearts, less beads, braided loop etc.
Tips & Tricks
I made two poms. The peach one I trimmed to be smaller than the white one but I used the same size pom maker. It is much easier to trim down from a larger shape than start small and have to get your cuts perfect. You can’t add back yarn.
Make sure to measure your door knobs width and then times it by 4 and you should have a good length for your string of the loop.
This doesn’t have to hang on your door, this is also perfect for a wall. Just keep in mind how you want your loop to appear.
I used scrap macrame to thicken up the loop at the top but you don’t have to do this, the 1mm macrame is too thin though to look good wrapped. That being said you could add anything to that area to thicken it up as much or as little as you want.


Supplies
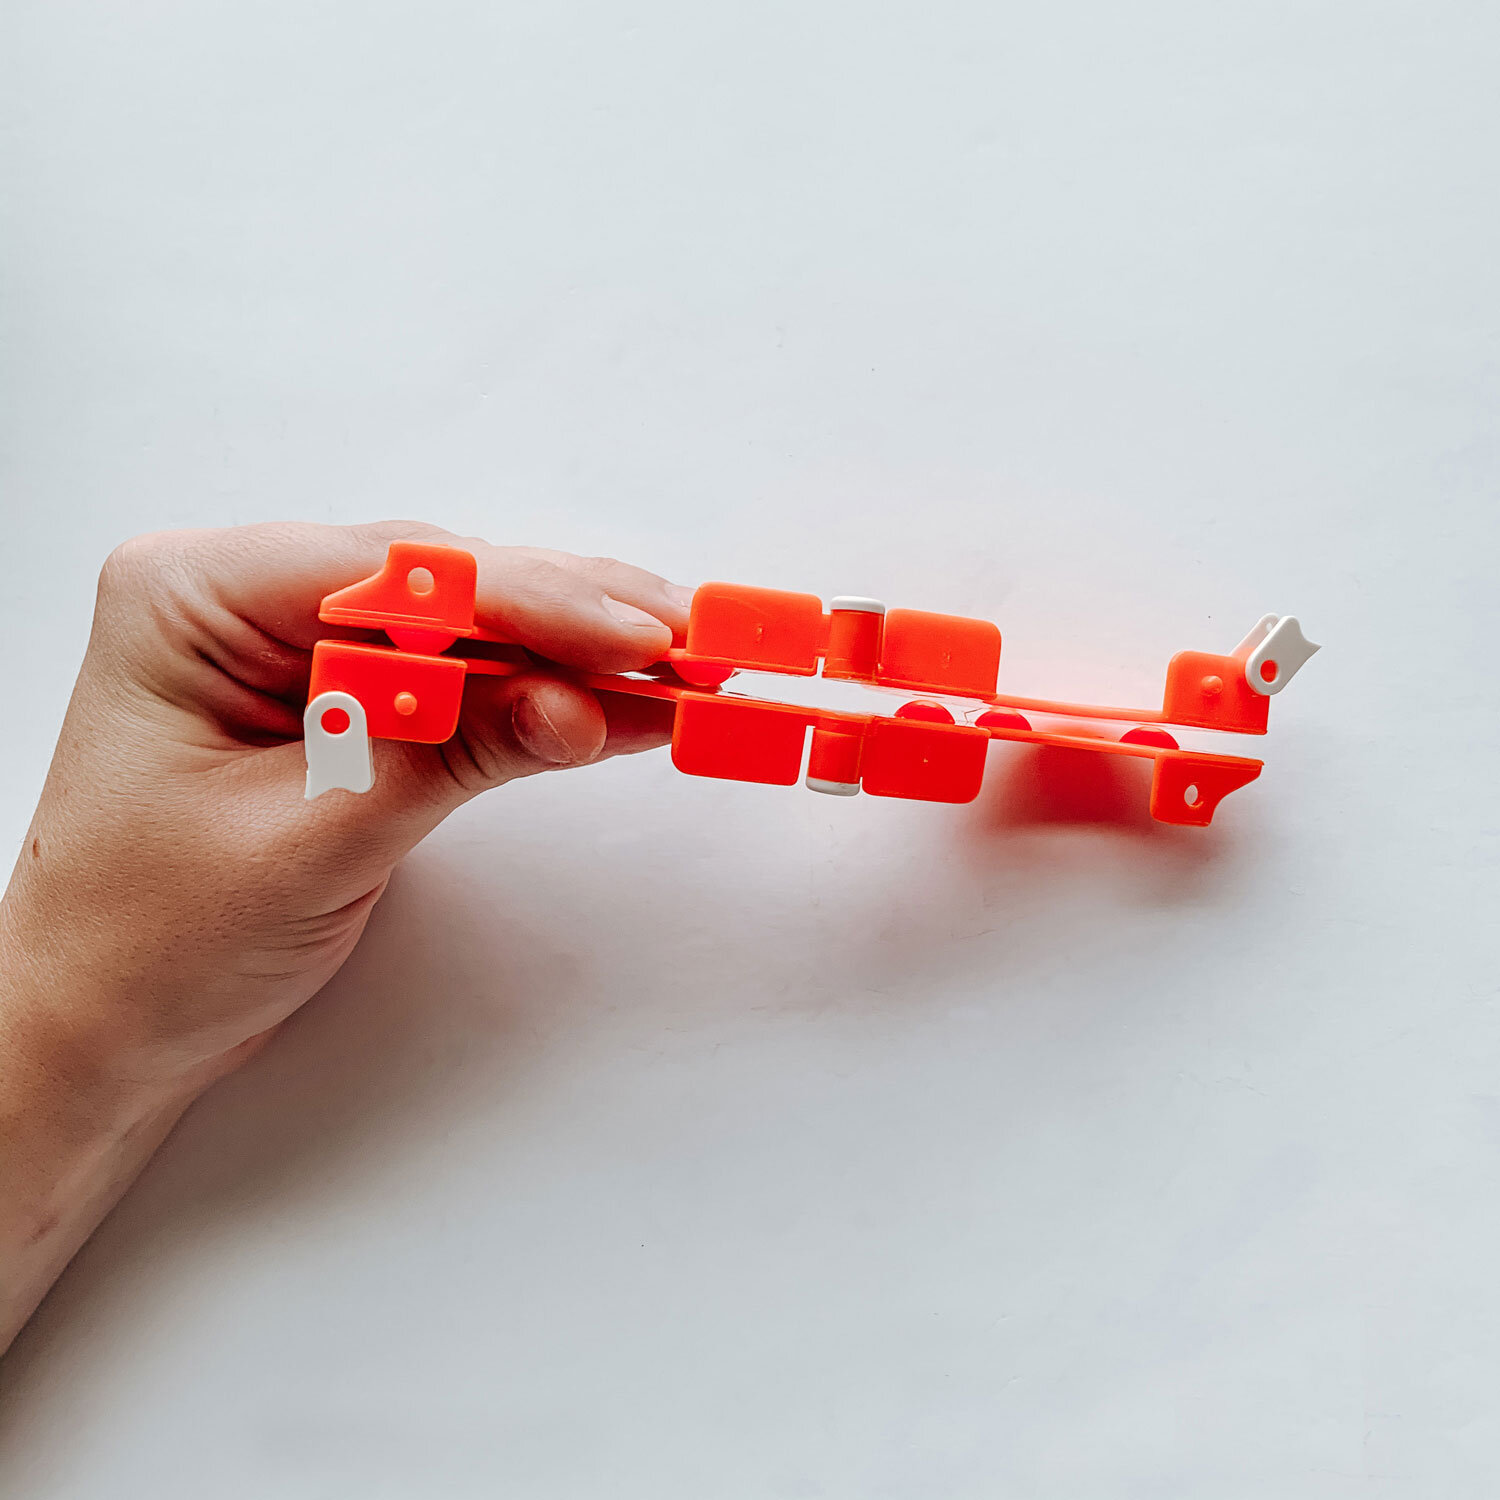
Assemble Pom Maker
I used the 3.5” size. Align both sides of your pom maker so that they are a reflection of each other.
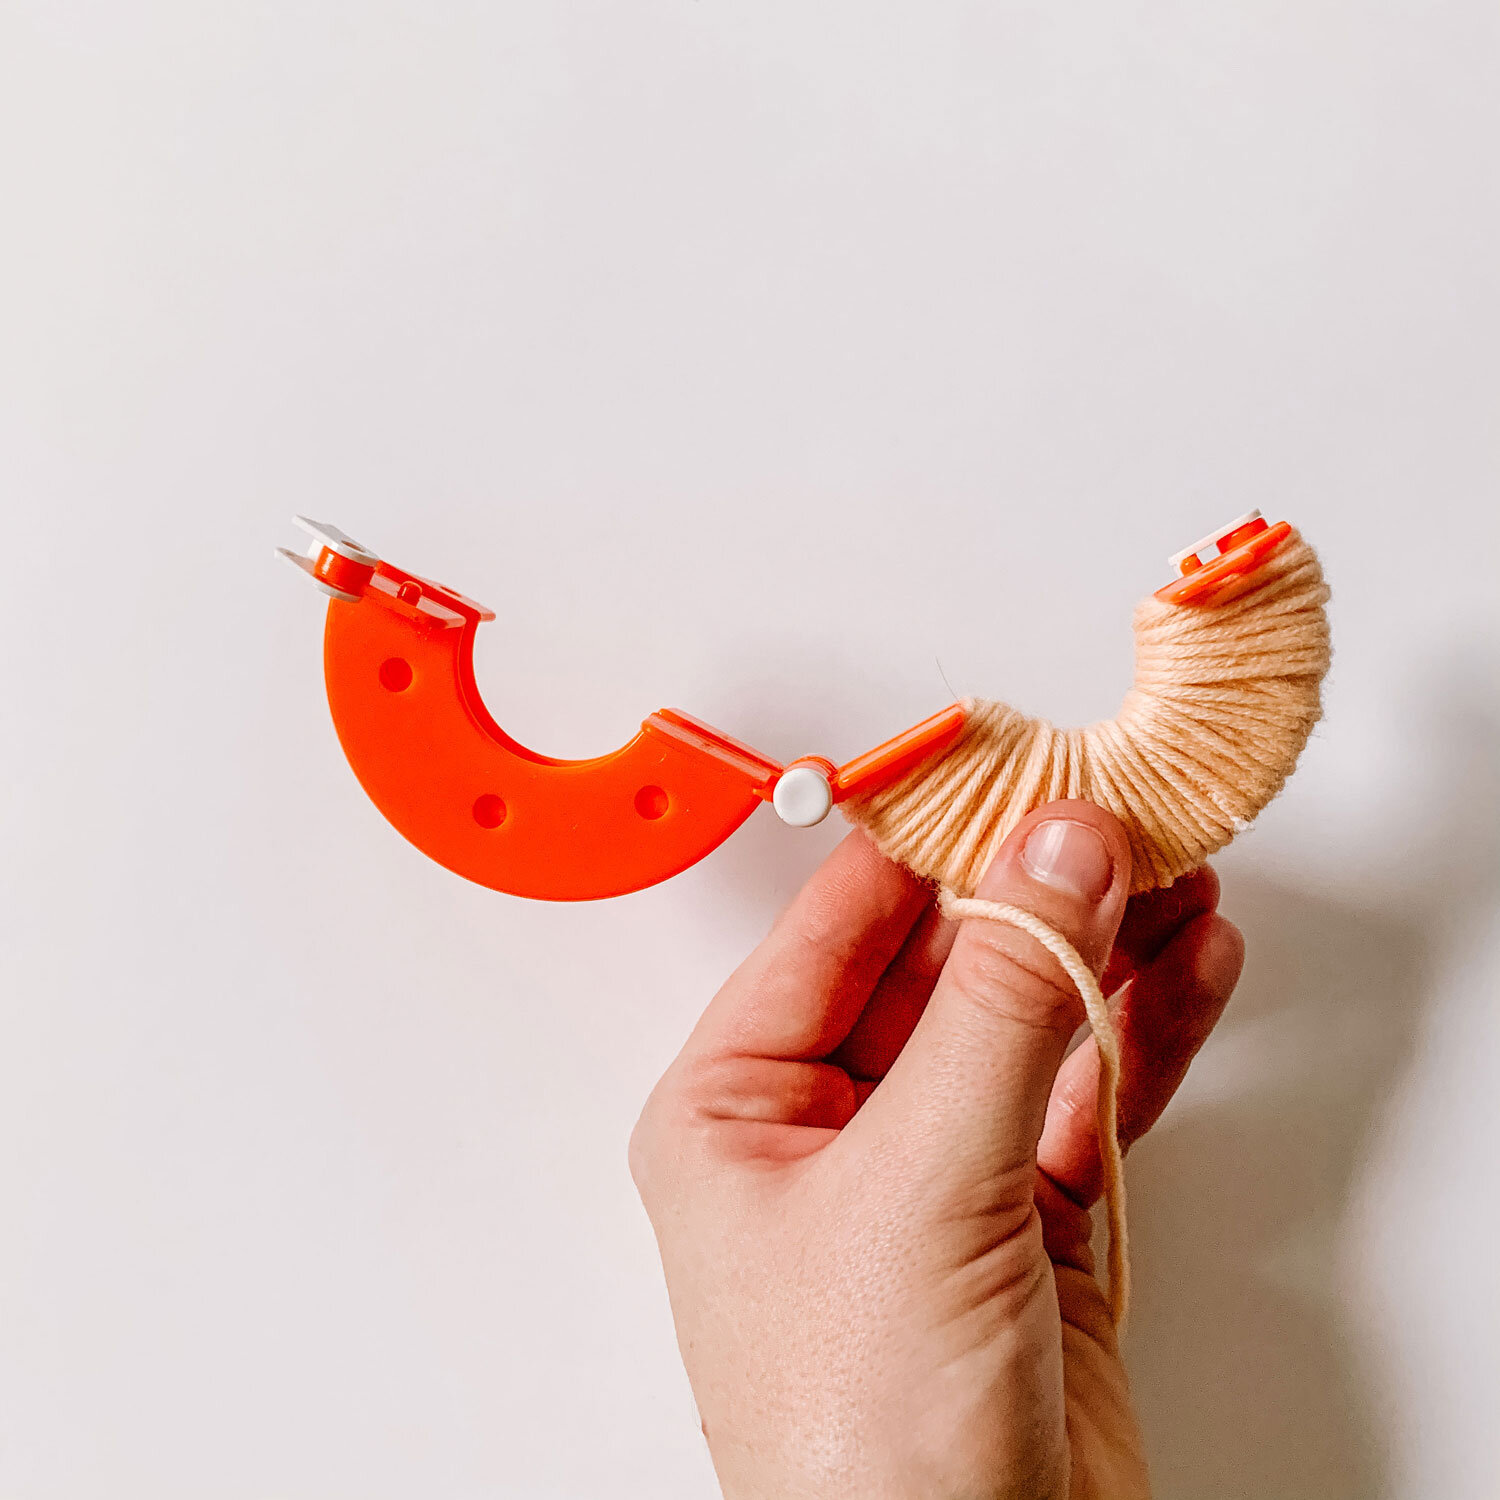
Wrap Yarn
Holding the maker and the end of your yarn in one hand, wind the yarn around one pair of arms.

Wrap Yarn
When one side becomes bulky, cross over to the other side. You will know when to stop when you can barely close the arms together.
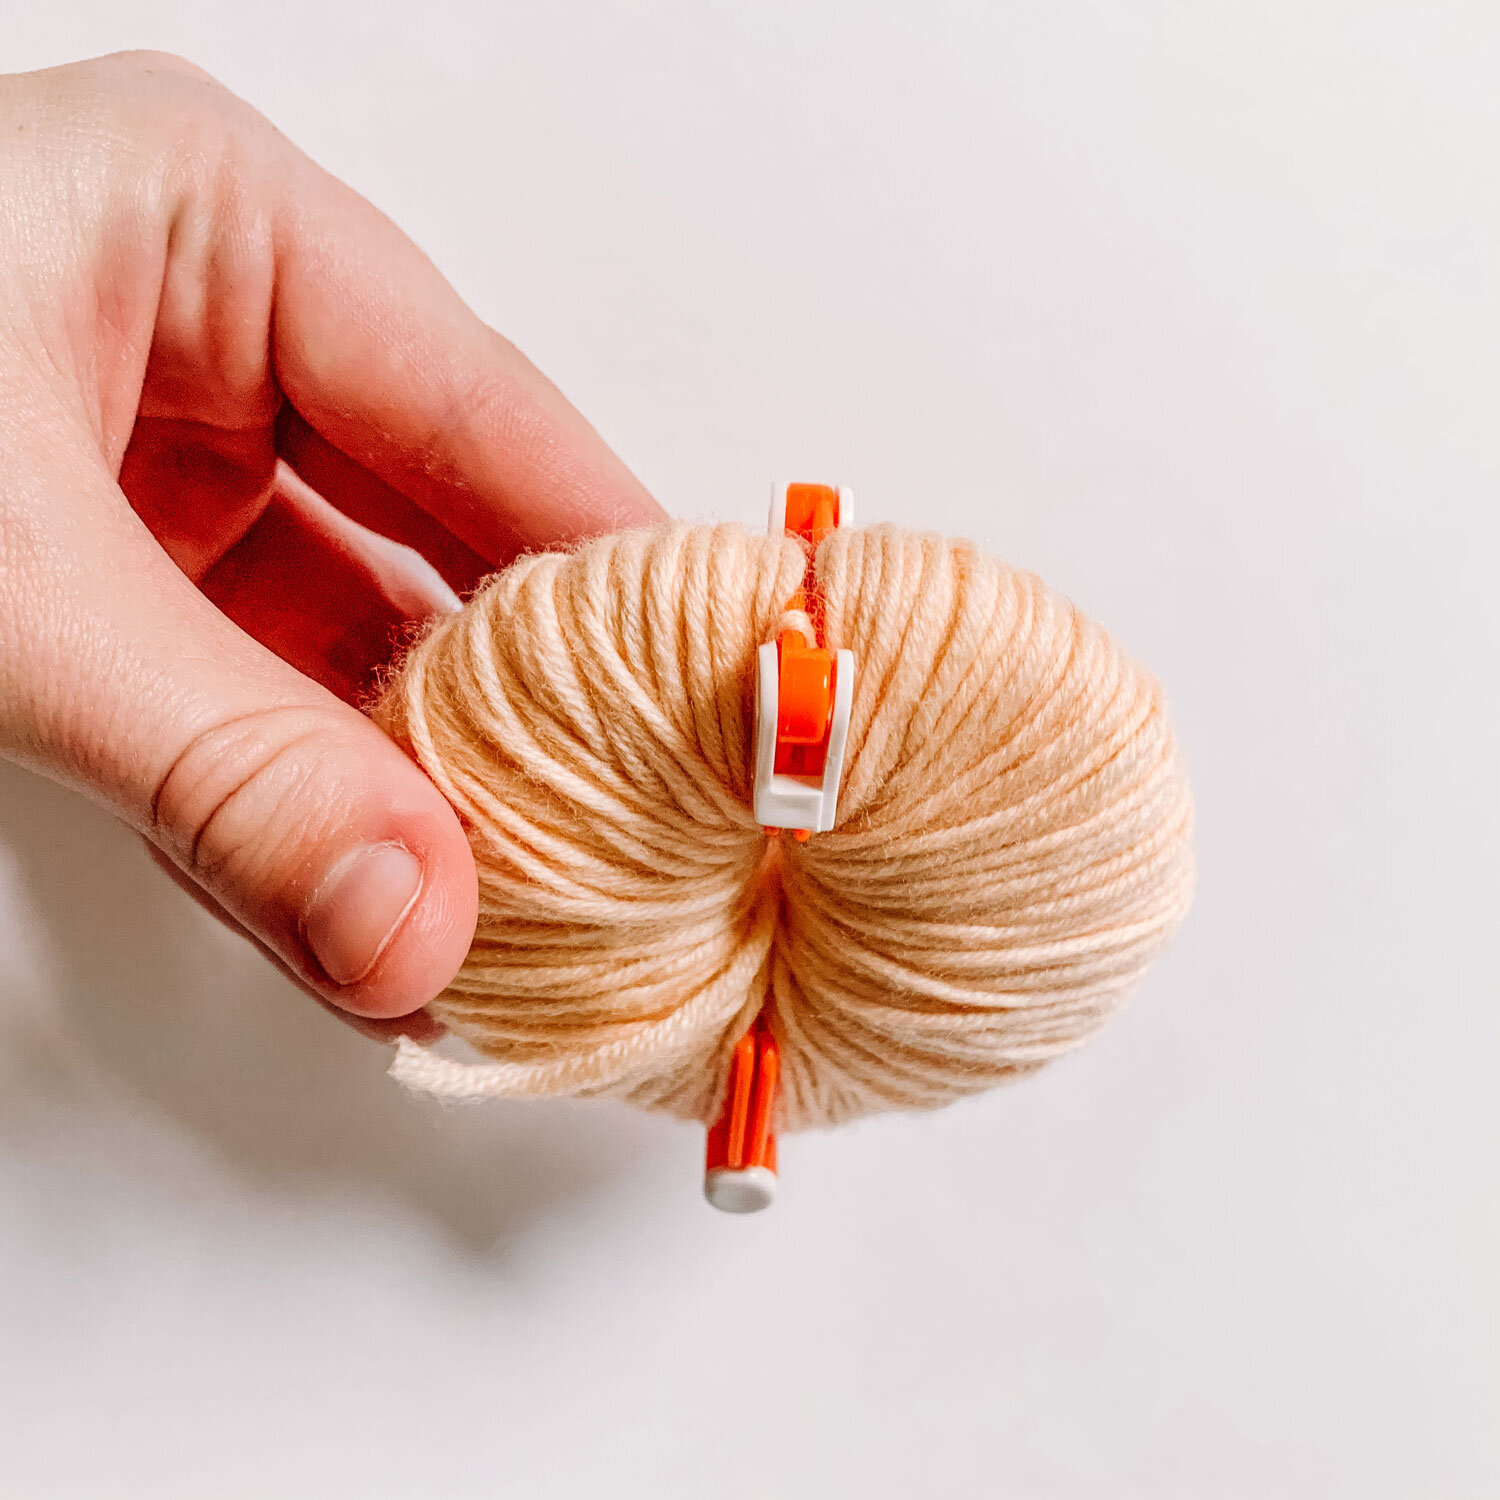
Close Maker
Close both sides together and lock the latches. Cut the strand of yarn that is still attached.

Cut Pom
Cut along the line of the two pom makers. Following it all the way around.

Tie Pom
Slide a piece of yarn between the two makers and tie a few tight knots. Cut the excess. Open and remove the pom maker.

Shape Pom
Trim the pom. I made the bottom a cone shape and the round the top edges. After I spit the top down the middle and trimmed a deep line.

Layout Beads
Layout your bead configuration.

Tie Macrame
Take the end of your macrame and tie it around the middle of your heart tightly. I did mine from the top of the heart to the bottom.


Add Beads
Slide your beads on in the order you planned. If you have trouble with getting the macrame through the bead, just wrap the end in tape.
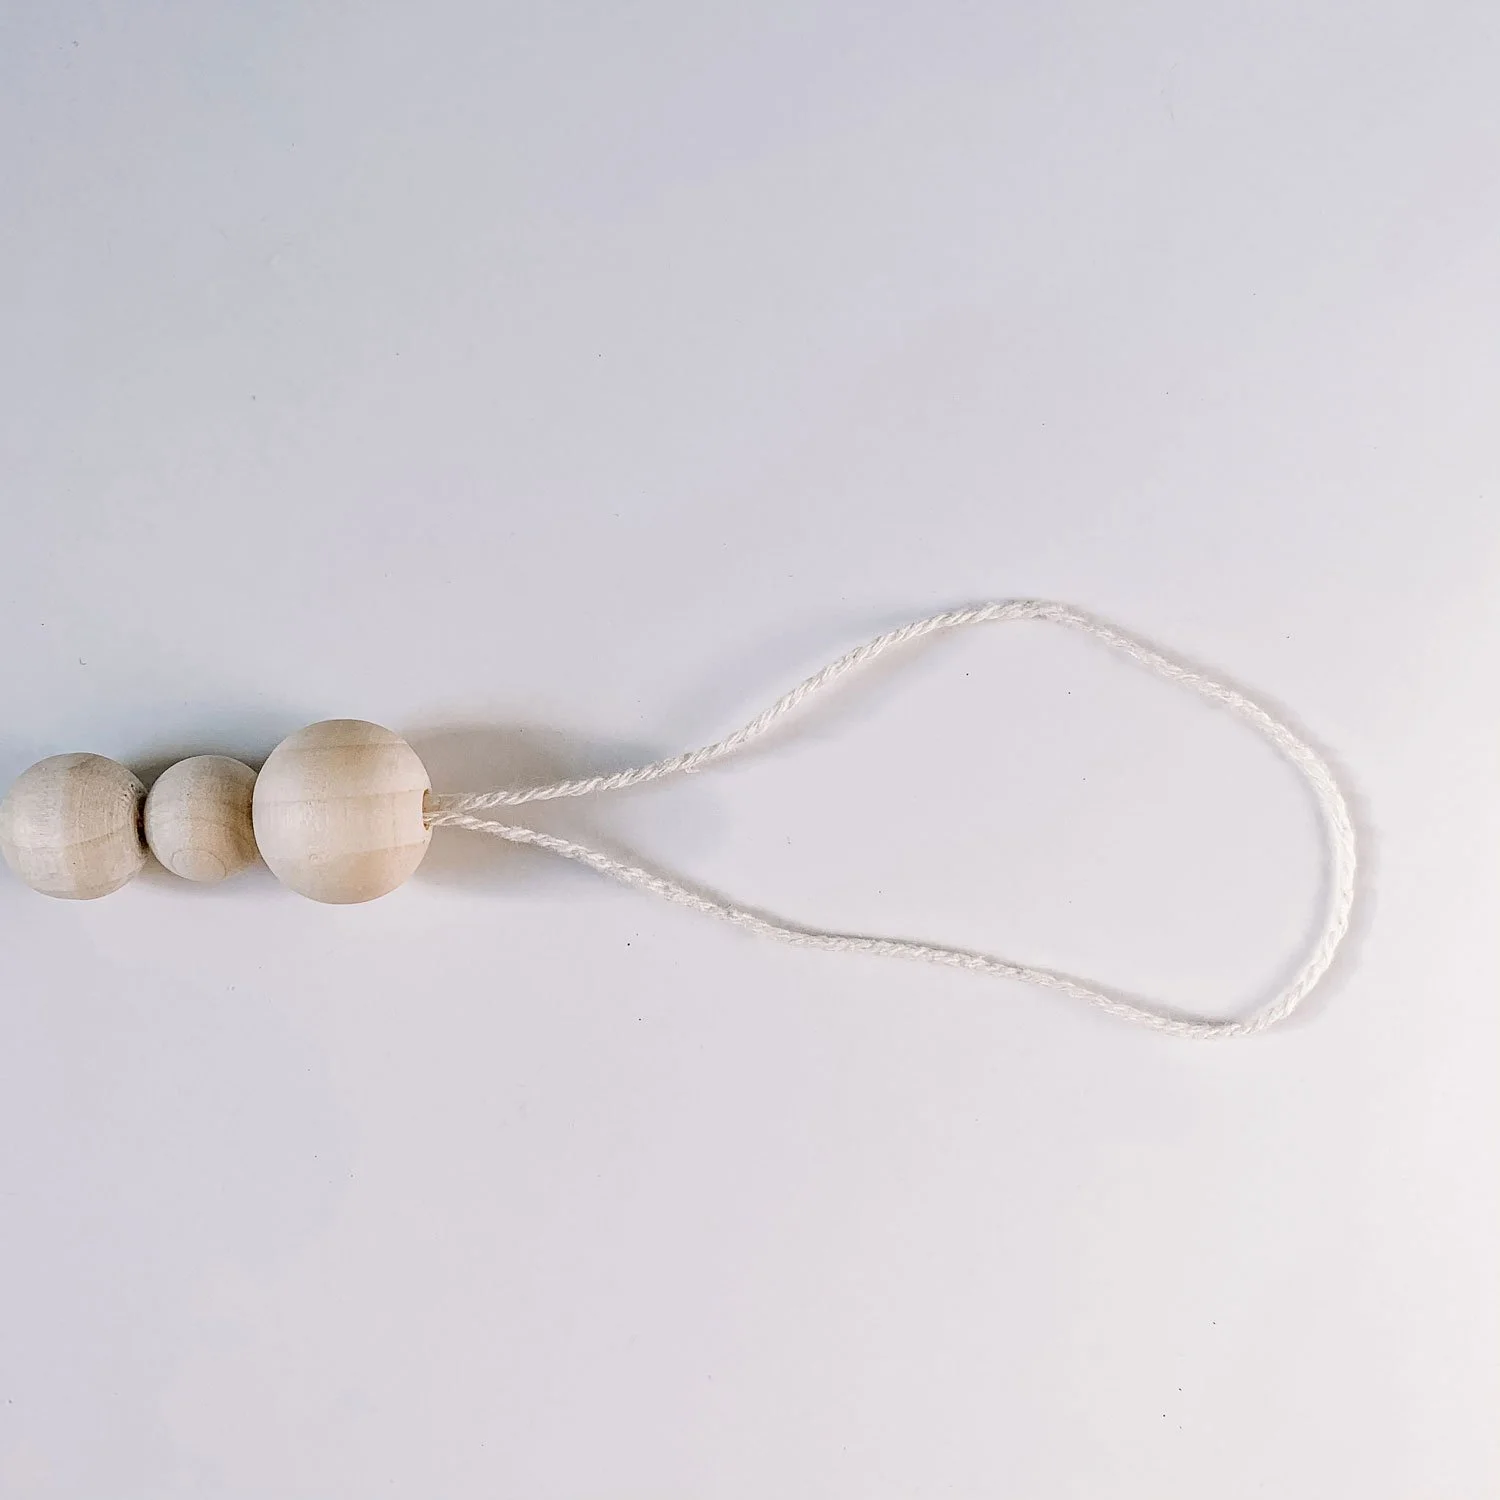
Add Heart and Beads
Loop your macrame and knot around your second heart. Slide on the rest of your beads and loop the top. Knot the end low so the beads slide over it, hiding it.

Thicken Strap
To make our handle thicker, cut macrame/rope the length of the loop and tape them together into one thick piece.

Pinch End
Pinch the bottom of your strands, where they meet the bead. Take a piece of yarn and create a 2in loop. Place it against the strands and begin wrapping tightly.

Wrap Yarn
Continue wrapping your yarn till you get to the end of the loop. Stick the end of your yarn through the loop we made at the beginning.

Finish Wrap
Pull tightly on both ends so the loop slides under the wrapping. Trim both ends.

Continue wrapping
Split the strands so you now have the 2 sides of the hanger. Continue this same method of looping, wrapping, and pulling tight with different colors of yarn until you have wrapped the entire handle.


Alright now we have a finished heart hanger so we have to put it up! If you want to hang it on the wall I would use tiny command strips . I went with hanging it on my bedroom door. My 1920’s apartment building has the original glass knobs and I love being able to highlight them. I have to say I am really happy with how it turned out and it barely took take any time.
Next in line is the heart pom garland. One can never have too many poms. Hope you have fun with this one! Let me know in the comments how yours turns out or tag me on instagram @thegreenmadhouse.