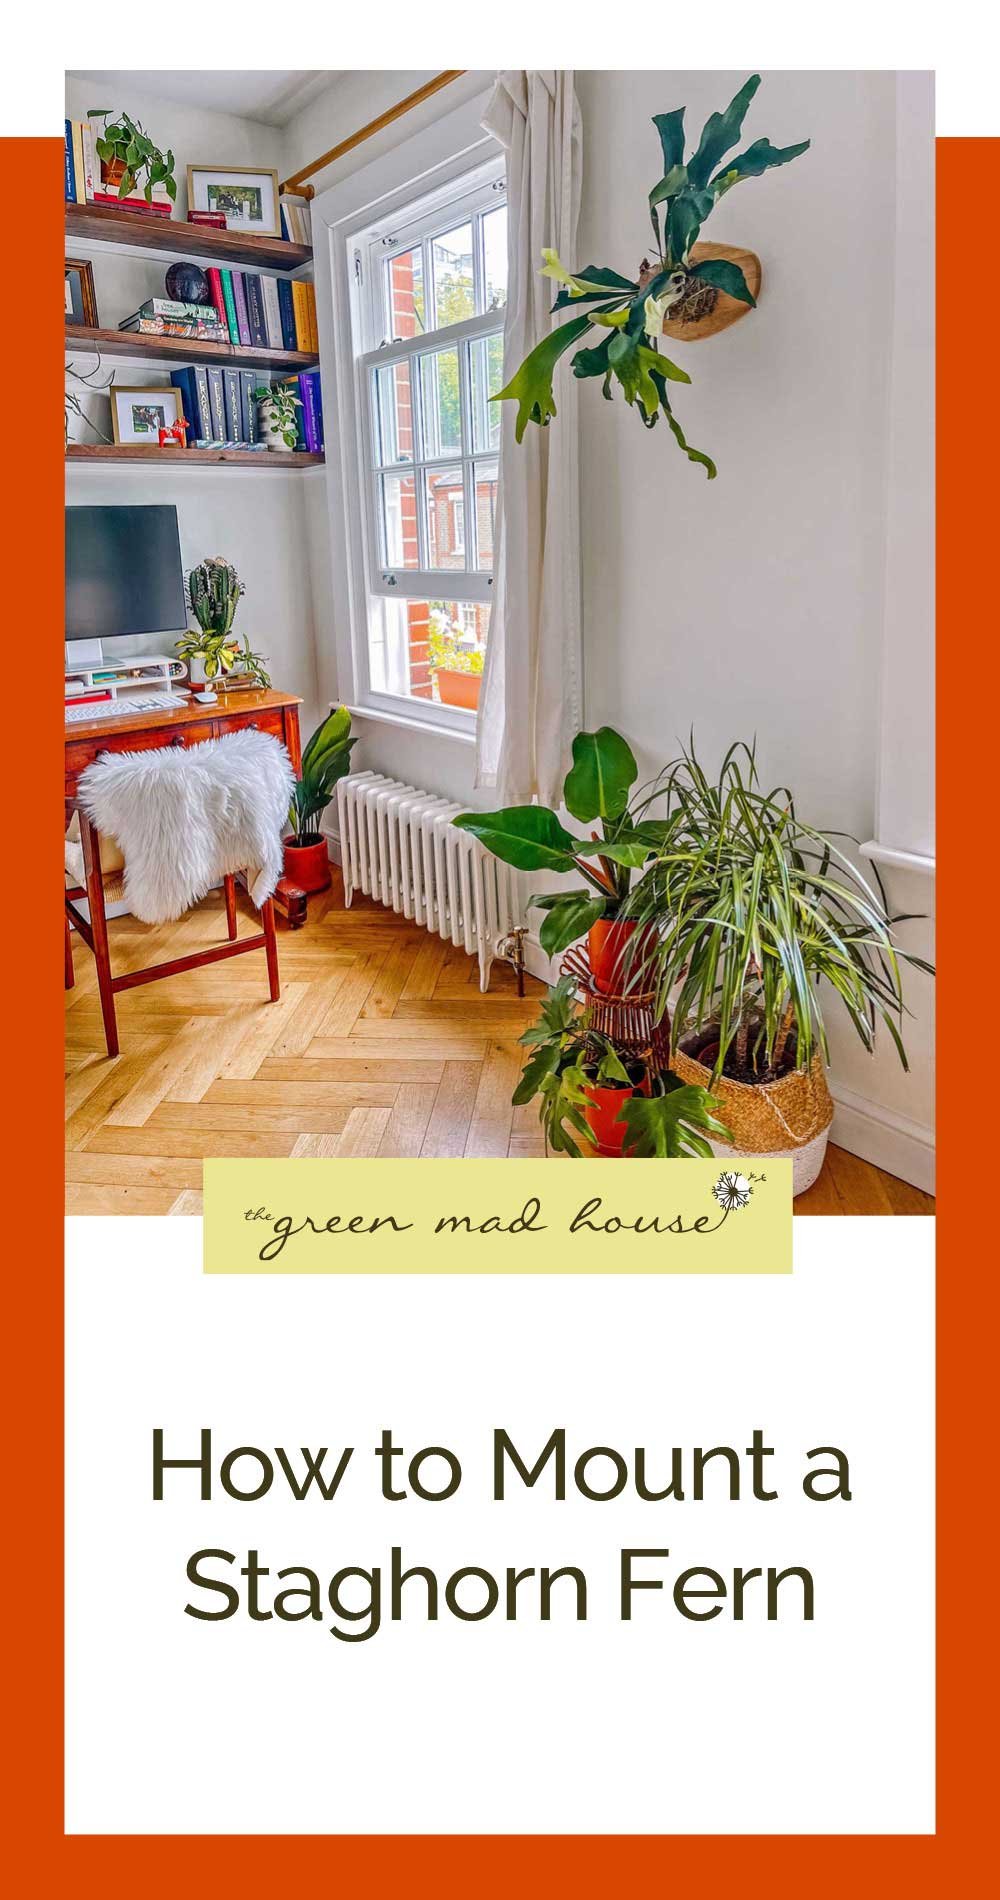
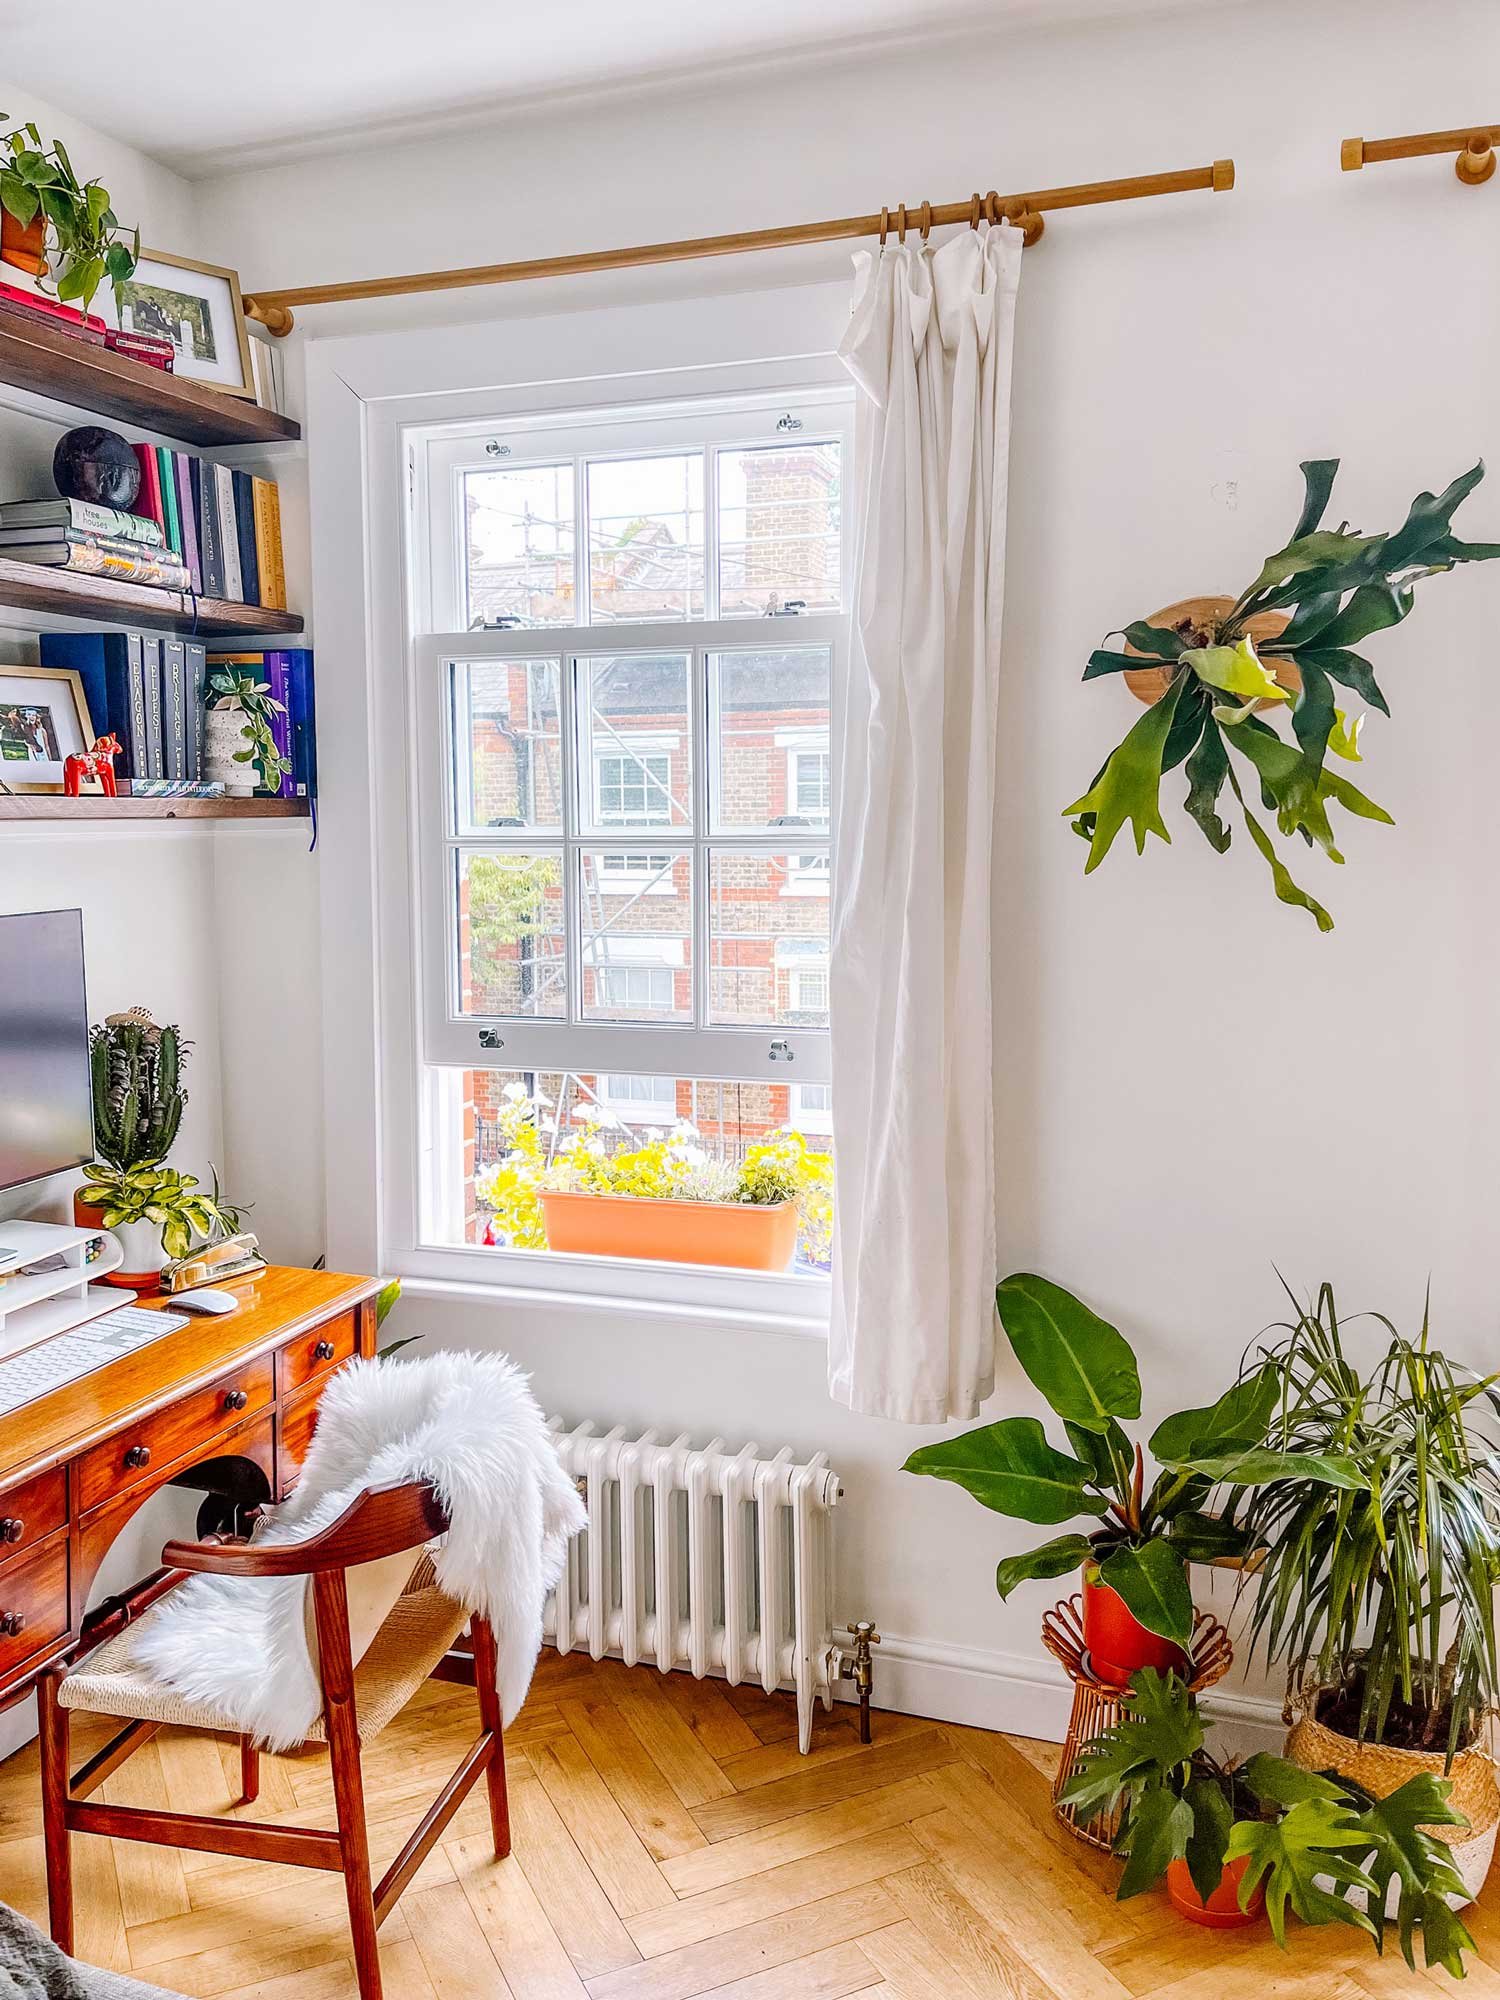
How to Mount a Staghorn Fern


As an Amazon Associate I earn from qualifying purchases.

Staghorn Ferns are stunning plants that dually serve as eye-catching wall pieces. Aptly named because their leaves look like deer or elk antlers, they similarly can be mounted on wood to make for way to add greenery to your room or gallery wall. What is better than living art?
Native to Oceania and Asia, these Polypodiaceae plants are ephiphytic meaning they grow on other plants, mainly trees, using aerial roots to attach. This is why mounting them is a successful way of growing them. Recreating these sub-tropical conditions is vital to helping the Staghorn thrive. Check out my care guide for more info. High humidity and dappled sunlight are a must. They are slow-growing plants but can reach massive sizes and, if you live in a warm, humid climate, would be happy outside on your porch but remember to bring it inside during winter. When you buy them in stores they are most likely potted in soil. This isn't necessarily wrong and they can continue to live that way happily as many epiphytes do in households, but using a moss method is preferred for these plants.
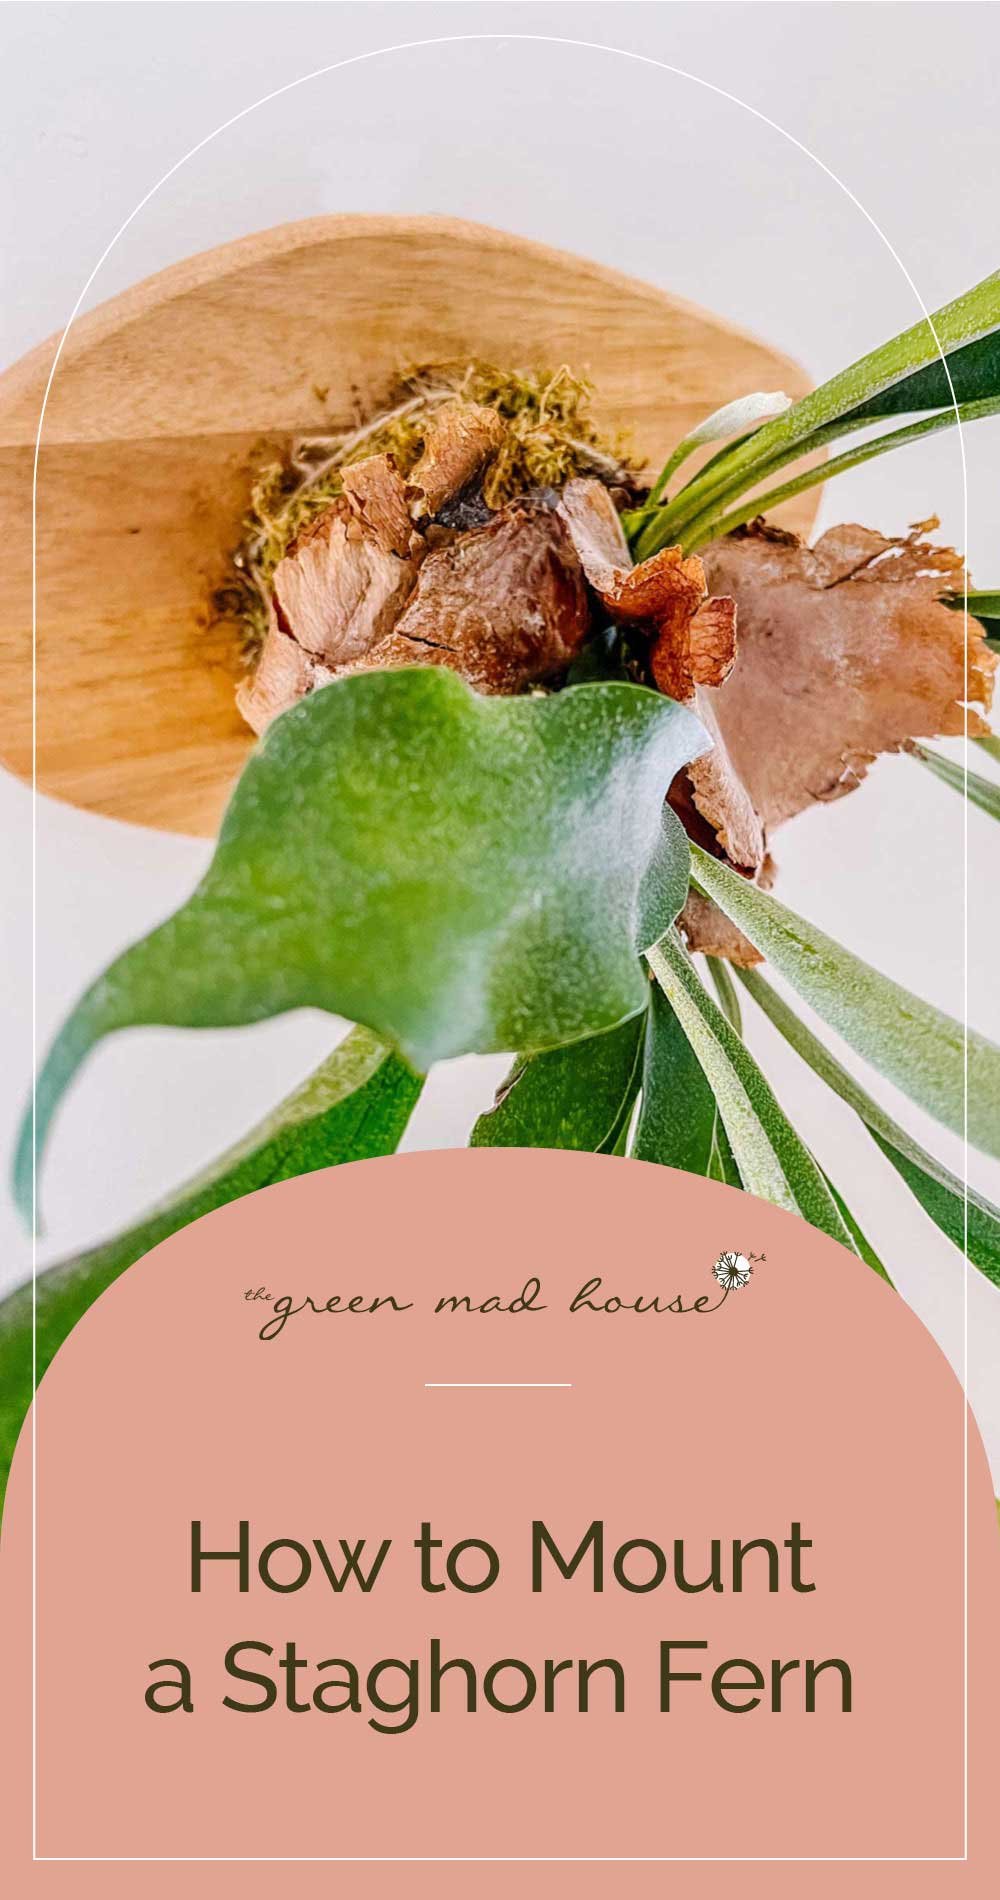
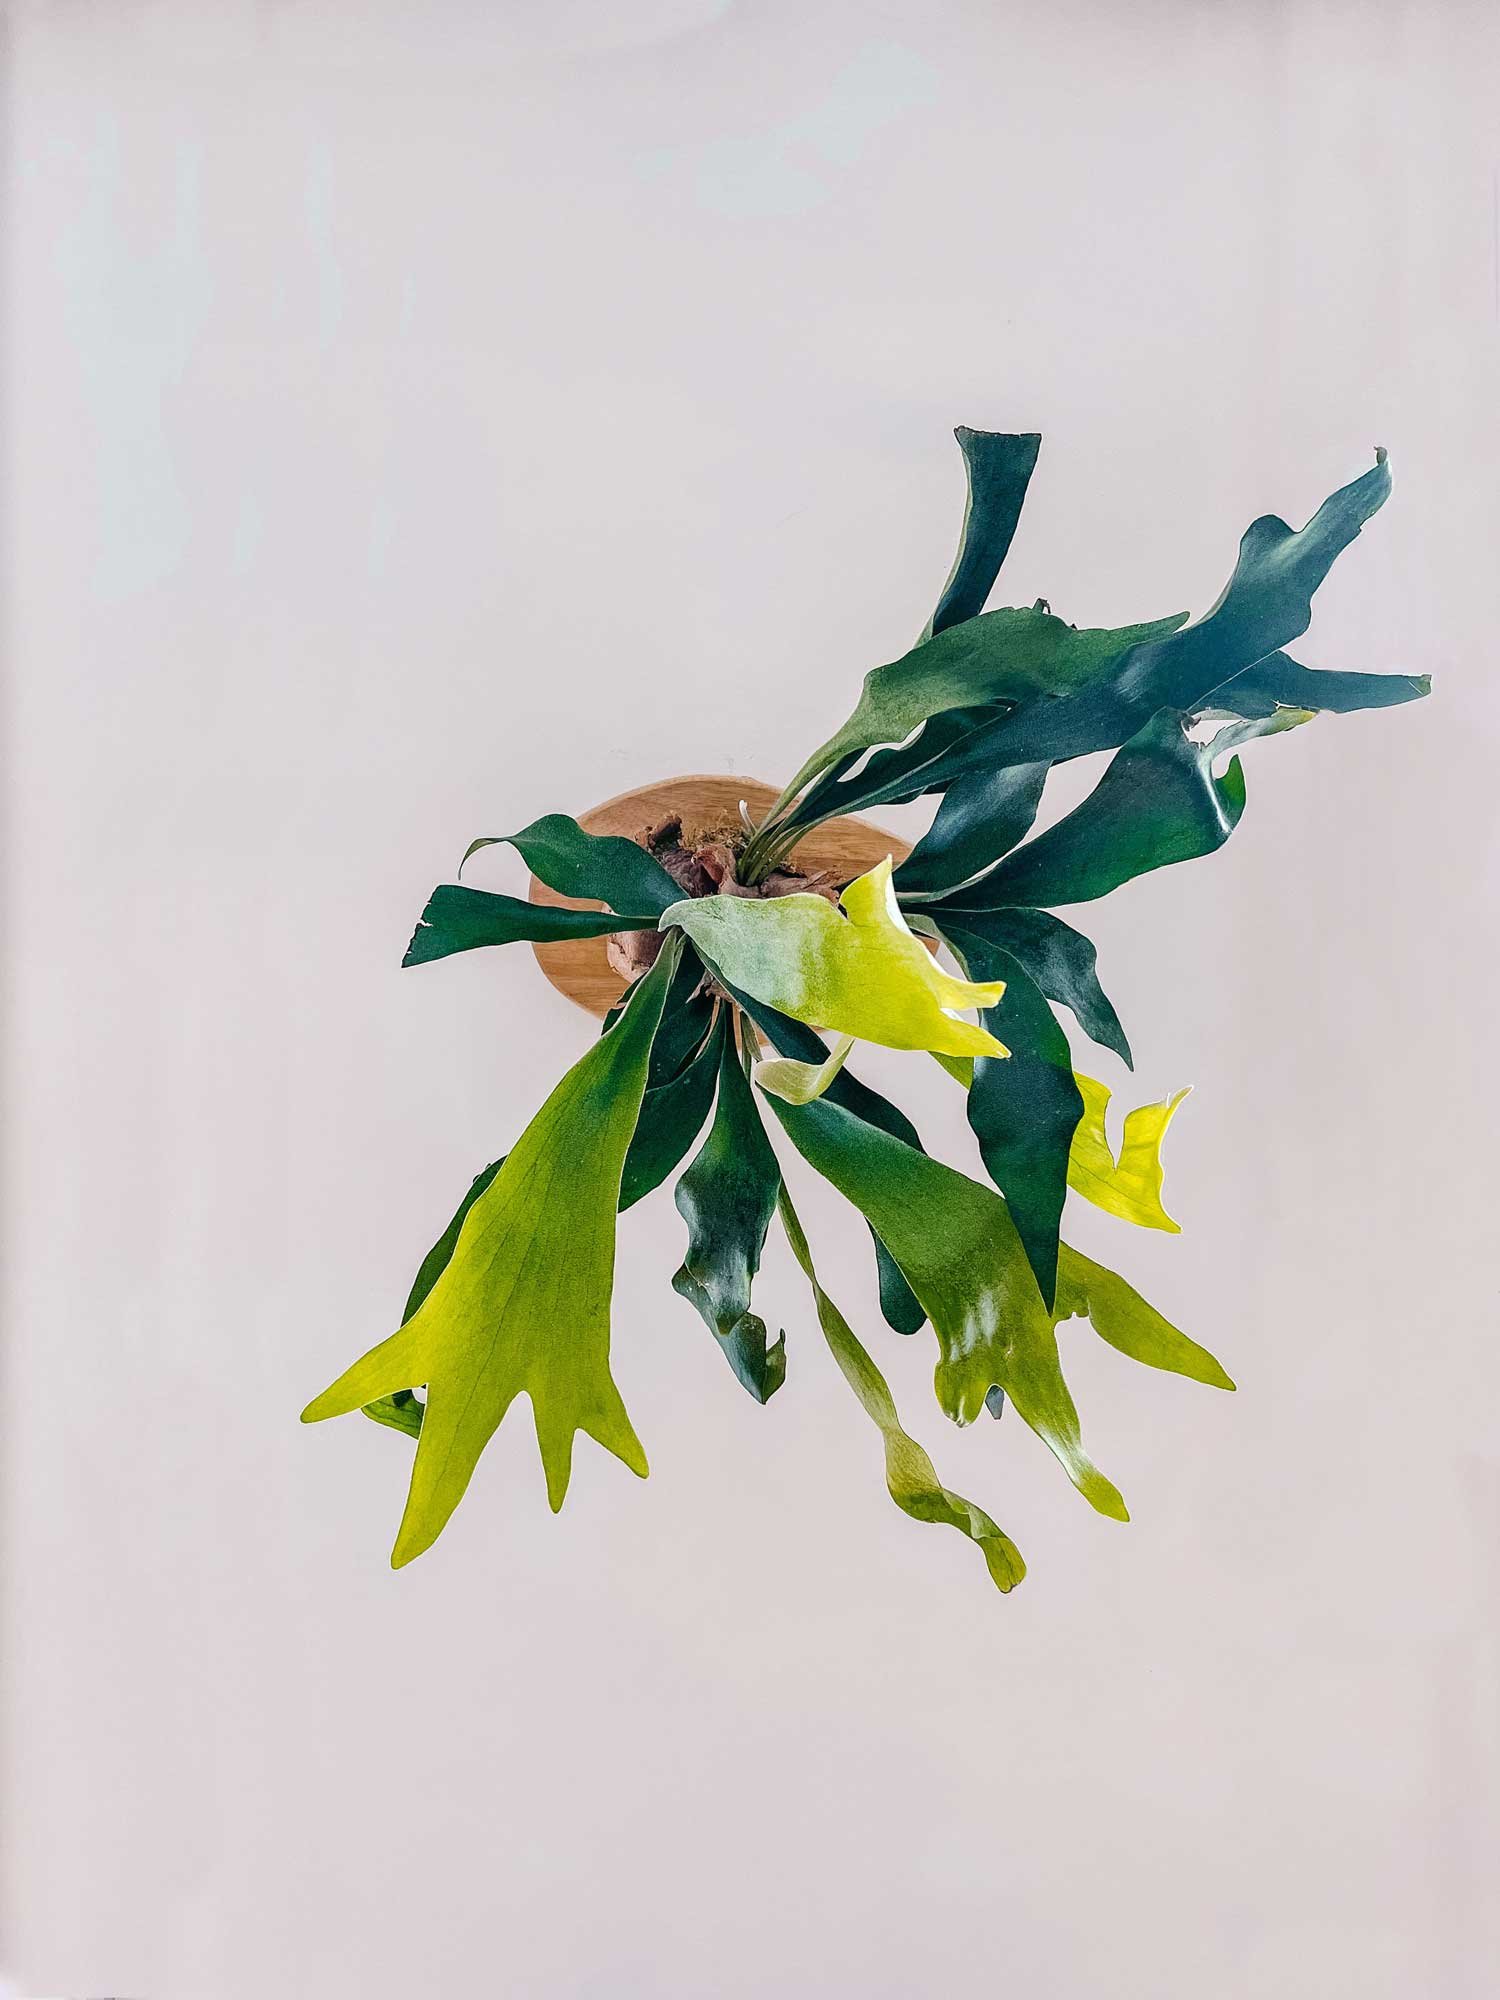
Staghorns have two different types of leaves: shield and antler fronds. The shields are normally brown and rounded around the root ball to protect it. It may feel natural to remove brown, crispy leaves from a plant but these should be left alone as they are doing most of the work for the plant. Antler fronds are green and project out from the base and can reach a few feet in length.
These plants can be difficult, namely if their humidity preferences aren't being met, but otherwise they are a great way to add some variety to your plant collection and decor.
Tips & Tricks
- There is a top and bottom to a Staghorn Fern. Staghorns have shields, the brown crispy round leaves you see at the base. When you place your fern make sure the shields are facing down.
- There are a few ways to attach the plant to the board. Twine and fishing line are two of the easiest. Fishing line is see through so it gives you a clean look but it can be difficult to tie off. It also won't erode and is very durable. Twine gives you a natural look and is easy to work with. Twine will erode over time due to watering. Another way to attach the plant is using burlap. You can cut the burlap and nail a half circle to create a pocket to set the plant into.
- The reason using a wood cutting board is a great option is because it is already sanded, stained and treated. Since you are putting something you have to water on the wood, if you use a raw wood piece you have to seal it. Here are a few places and pieces you could use to mount your staghorn:
- The one I purchased is a wood cutting board from Ikea. This piece is 7.5 x 11 inches.
- Here are a few cutting boards from Amazon 9" Square Cutting Board, 9" Round Cutting Board, and 12" Raw Edge Cutting Board.
- You can buy raw wood slices (if you don't have some trees and a saw yourself). This link has varying sizes from 7-14 inches. Make sure to sand and seal the wood. Remember that wood can split so its best to use a piece that is over a half inch thick.
- Use some scrap wood from your garage or a salvage store. If you go this route you need to treat the wood and seal it.
- Check TJ Maxx or a local charity shop for cheap wood cutting boards or trays.


If video format is more your speed, I made a compilation of the DIY for you to follow. I am going to try this on more of my blog posts. Let me know if you like it! Subscribe to my YouTube channel to keep up with new videos or my TikTok @thegreenmadhouse.

Supplies
Wood Piece (check tips and tricks)
Sphagnum Moss and Bowl
Hammer and Nails
Picture Frame Hanger (Optional)

Draw Guide
Pick something circular that is about 1-2 inches larger than the base of your plant and trace it with a pencil.

Hammer Nails
The amount of nails is up to you and the size of your plant/circle. Mine are a little over an inch apart.

Prepare Plant and Moss
Soak your moss in water so it is easy to mold. Take your fern and loosen soil from the roots so most of your soil is removed.

Attach Plant
Take wet moss and form a ball around the plant. Place plant on top with the shield fronds facing where ever down will be when its mounted. Using fishing line or twine begin to wrap around the nails and moss ball. Once secured tie off knot and tuck end in.

Hang it
I used picture frame attachments to hang mine on the wall.


I really enjoyed this DIY because it’s combining art and plants; two of my favorite things. We all know how much I love plants and when you start to run out of floor and shelf space you have to go vertical. Let me know how yours turns out or by tagging me on instagram @thegreenmadhouse.